Evolution In the Blade LPS Inspections
Aerones have been working hard on the robotic technology for LPS conductivity measurements to improve quality and speed when compared to a typical LPS system inspection. We implement a proven and robust delivery system (our winches) and a robotic arm that carries the duplex Megger probes. Additionally, Aerones robotic arm has multiple cameras mounted near the probe to visually guide the probes to make contact with the receptor and capture close visual inspection images of the receptors.
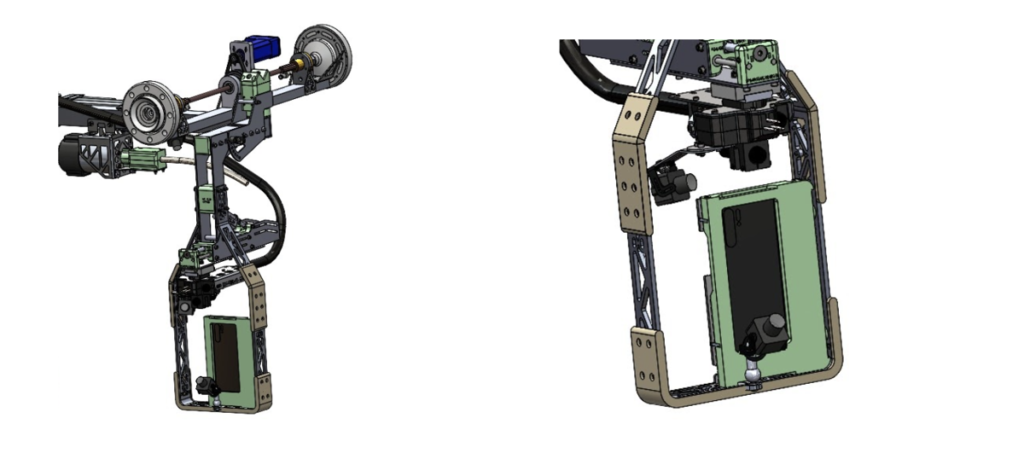
One of the cameras captures high-resolution images, another one mounted on a slight angle determines if the receptor puck is sitting flush with the surface and the wide-angle camera captures the adjacent blade shell area near the receptor. Aerones pilot sends the robot to a predefined inspection data capture plan and our software tags each of the images with a resistance reading and location metadata.
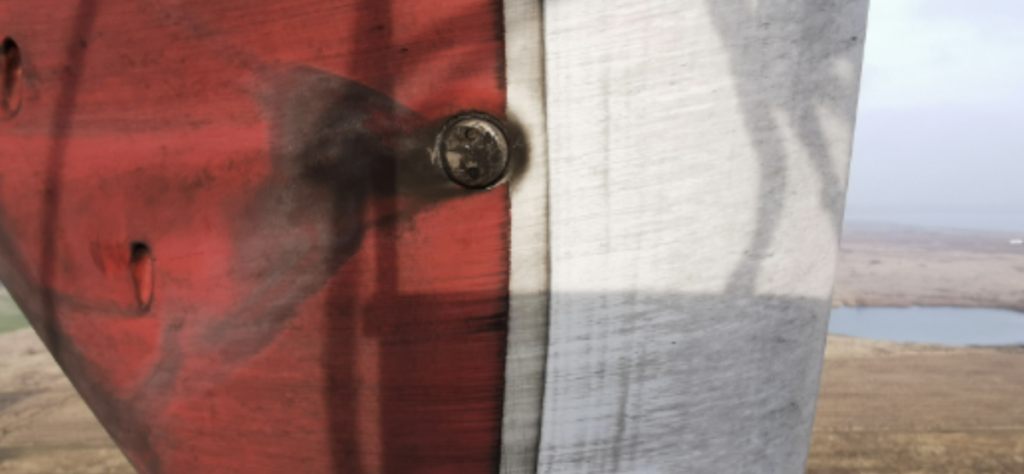
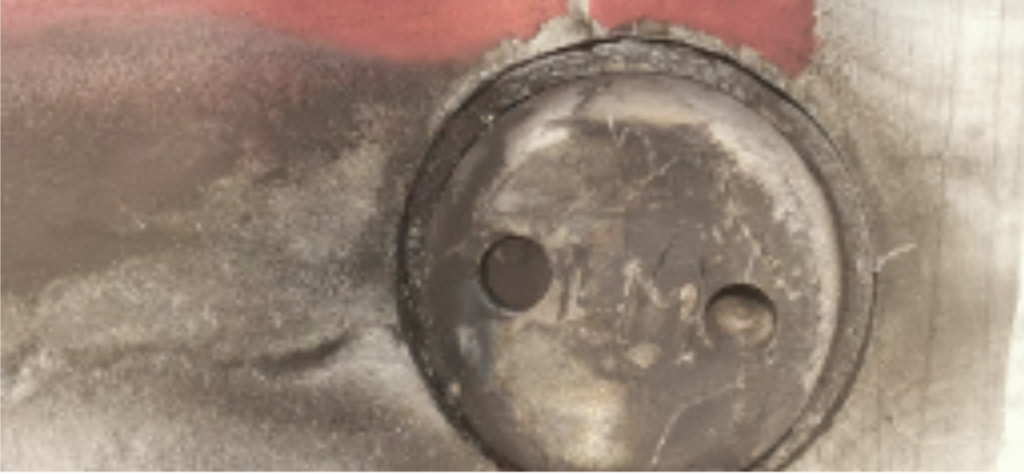
Then these images along with the receptor resistance measurements are uploaded to Aerones servers and assessed later for the level of any sustained damage. The damage criteria are developed closely together with the OEM. Receptors are then tagged accordingly and any corrective actions determined.
New Level Reporting
Our reports are compiled according to the BWE standards where the specific required data is recorded throughout the duration of the project. The LPS system’s corrective actions and recommendations are made according to IEC standards.
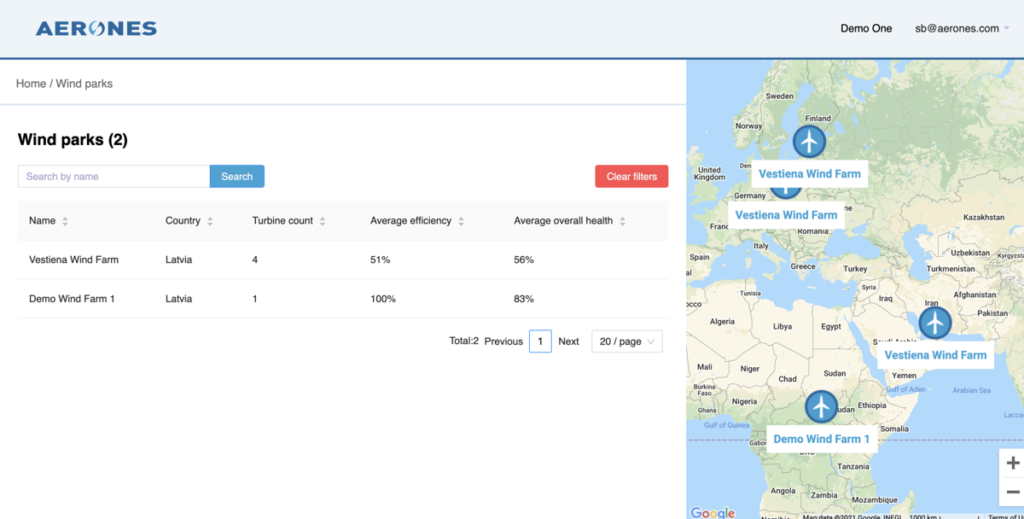
All inspection data is stored on the Aerones secure online cloud storage. Each client has a login and can see the data populating as the project progresses. Near real-time data has allowed us to identify problems at an early stage of the project without losing valuable time and having to redo. A report can be generated automatically and downloaded into a PDF or Excel format. Our online platform is built in such a way that the data can be imported into any platform using our API.
